


Icon fonts definitely have their benefits: they can be styled easily with CSS, they have lightning fast load times, and they are vector graphics - which results in high quality rendering, regardless of screen resolution. Another bonus is that you can use them locally in your design files if you so choose. I recently created a custom icon font for a client project at Differential using the free web-based IcoMoon app, and wanted to share my process with you.
First thing's first: organizing all of your icons. I like things to be neat and tidy, and found this to be helpful when editing the icon set and exporting the icons. I use Sketch for the vast majority of my design work, but you could do the same thing in Adobe Illustrator, Affinity Designer, or any other program that supports vector graphics.
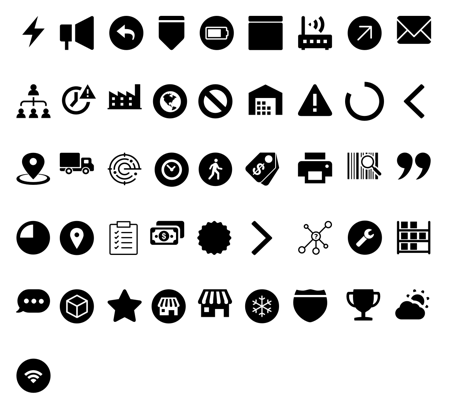
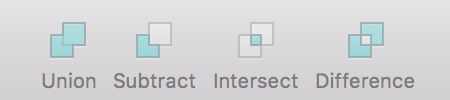
I copied and pasted each icon from my mockups into this grid layout in alphabetical order (top left layer being named "activesensor" and bottom left layer being named "wifi"), made them all roughly the same size (I went with either the width or height equaling 100px), and changed the fill of each to black. I then made sure no icon was in a group, and that each icon was one shape. So, for example, the last icon in the grid ("wifi") is a black circle with the wifi vector subtracted from it, opposed to a black circle with the wifi vector sitting on top of it. This results in the background color of the website or application you're working on showing through the subtracted parts of the icon. I accomplished this by using the Union/Subtract/Intersect/Difference tools in Sketch. It took a bit of finagling to get this to work out for all of the icons, so don't worry if it takes some trial and error.
After my file was all set up, I went about exporting each icon as an SVG. To save time, Sketch allows you to export all of your layers at once. You can do this by navigating to File > Export > Export All. If your Sketch file is set up in alphabetical order (both the layers and the layout), the icons should export in perfect order. These exported SVGs are what I then uploaded to my IcoMoon set. To do this, navigate to the IcoMoon app and click "Import Icons." You can then select all of your icons from the folder you exported them to, and IcoMoon will automatically create a new set for you.

After creating your set, you are able to edit its meta data - name, url, designer, license, etc. - by clicking on the hamburger icon at the top right of the set and selecting "View/Edit Info > Edit Metadata." This isn't necessary, but the option is there. And, if the need arises, you can rearrange your set as well as add and delete icons.
Only a few more steps before you can start using your icon font! Once your icon set is ready to go, click on "Generate Font" at the bottom right of the screen. From here, you will need to do a couple of important things: specify the font's class prefix, choose which preprocessor variables to generate (unless you are using classic CSS), and choose a CSS selector. You can access these things by clicking "Preferences" in the toolbar at the top of the screen.
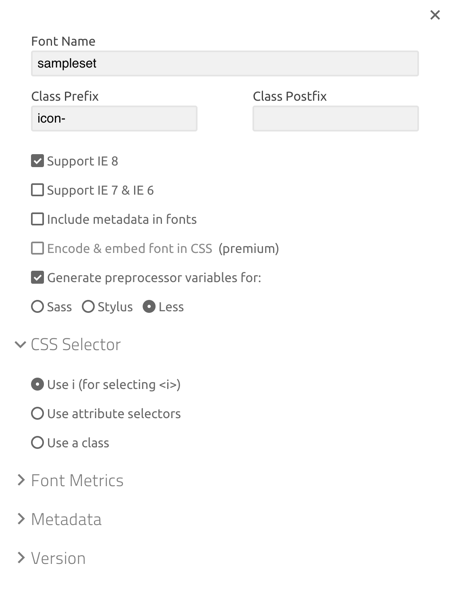
I stuck with icon- as the class prefix (keepin' it simple), chose to support IE 8 only (as we had no need to support 7 and 6), and selected "Use i" for my CSS Selector. We are using Less in our project, so I chose to generate preprocessor variables for Less.
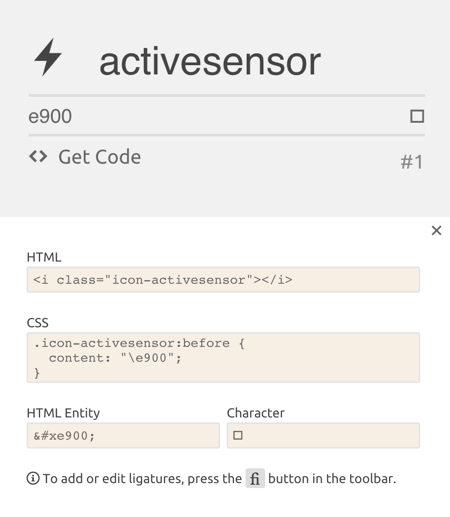
Back on the main screen, you will see all of your icons with their name and corresponding unicode. If you hover over any icon, you will see the option to "See Code." Click this, and you will get an example of how your code might look, which should correspond directly to the choices you made regarding your font's class prefix and CSS selector.
Your custom icon font will include everything you need to use it in your projects, including a demo file for easy access to the font's unicode values, web font files, all necessary CSS/Less/Sass/Stylus files as well as a TTF font for using the font locally. The only thing left to do is click "Download" at the bottom right of the screen. Happy fonting!


